1. Once you have obtained the Ubuntu 20.04 desktop image, create a bootable media using Rufus tool or create a bootable USB drive using LiveUSB Creator called Unetbootin.
2. Next, insert the bootable DVD or USB into the appropriate drive on your machine. Then start the computer and instruct the BIOS by pressing a special function key (F2, F8, F9 or F10, F11, F12) to boot-up from the inserted USB/CD drive.
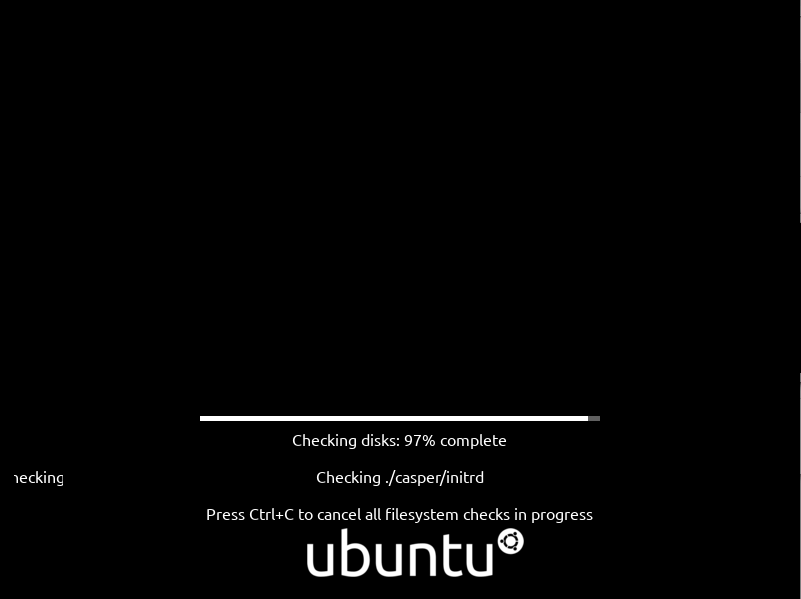
Once the BIOS detects the bootable media, it boots from it. After a successful boot, the installer will check your disk (file system), press Ctrl+C to skip this process.
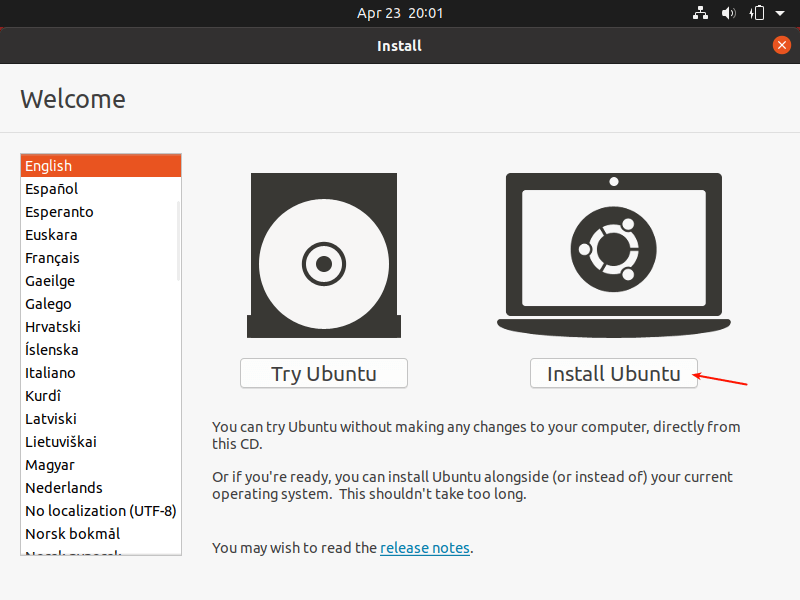
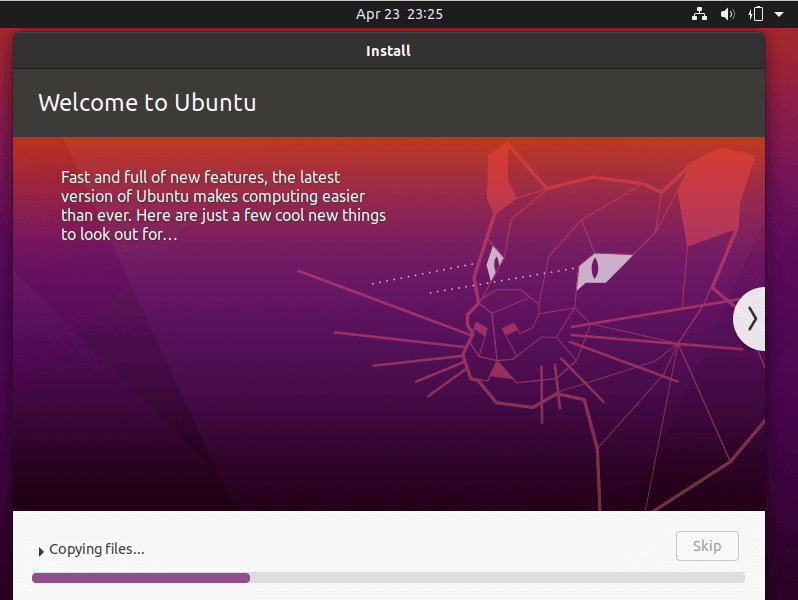
3. When disk checking is complete or if you have canceled it, after a few seconds, you should see the Ubuntu 20.04 welcome page as shown in the following screenshot.
Select Install Ubuntu.
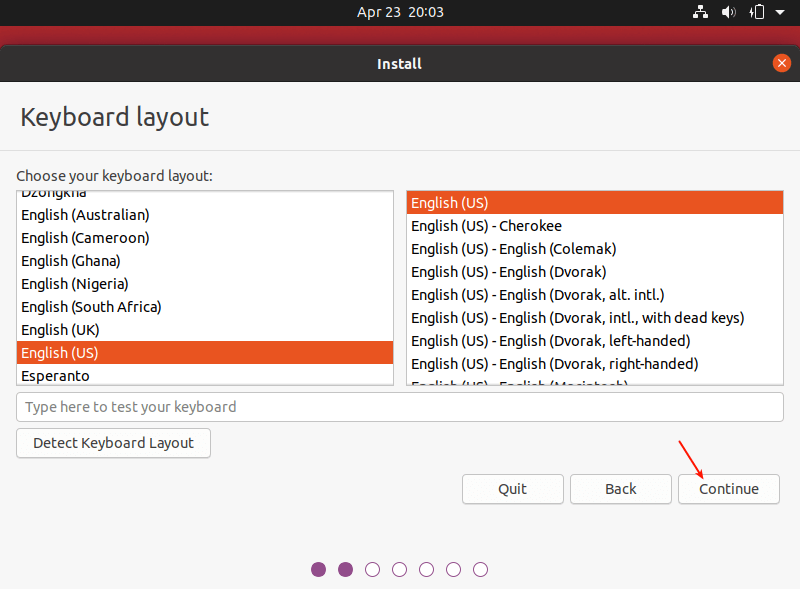
4. Next, choose your keyboard layout and click Continue.
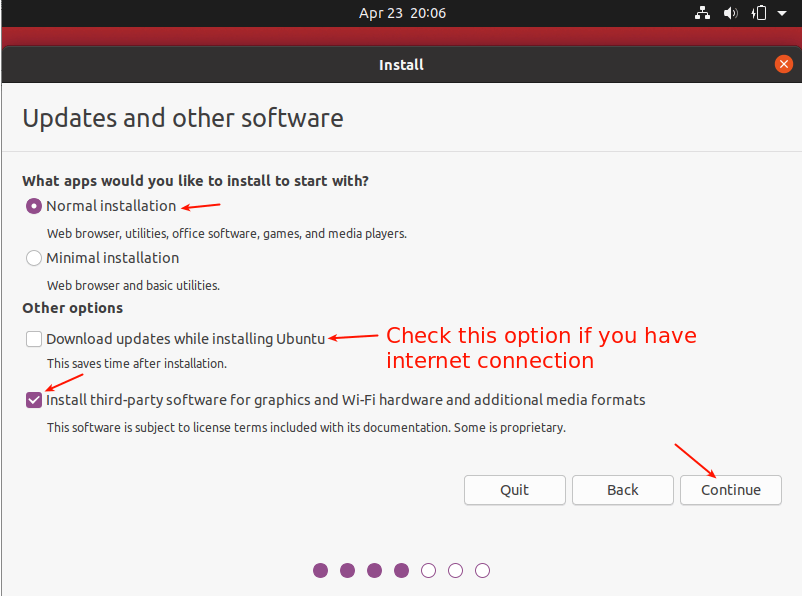
5. After that, choose the apps you want to install based on the installation type (normal or minimal installation). Also, check the option to install updates during the installation process and where to install third-party software.
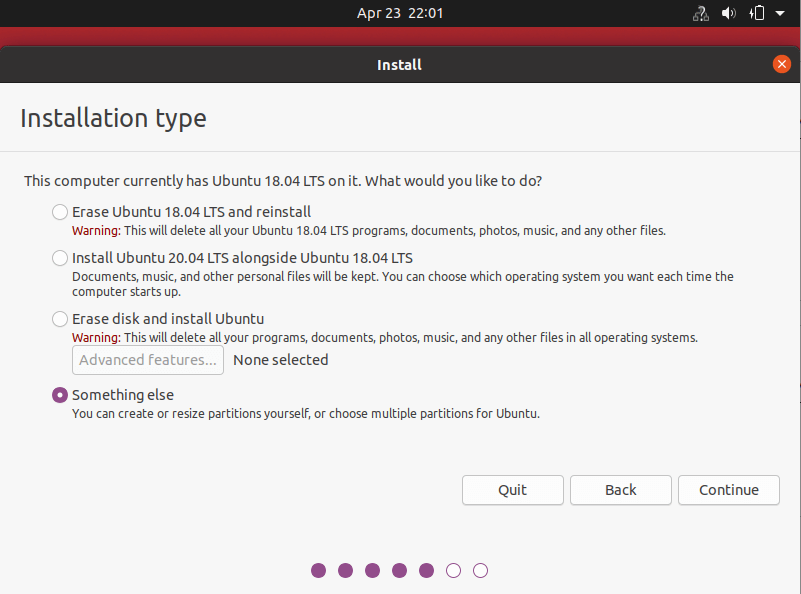
6. Now choose the actual installation type. This is normally the most confusing part, especially for new Linux users. There are two scenarios we will consider here.
First is using an unpartitioned hard drive with no operating system installed. Then secondly, we will also consider how to install on an already partitioned hard drive (with an existing OS e.g Ubuntu 18.04).
Scenario 1: Using an Unpartitioned Harddrive (without an OS installed)
7. For this scenario, you need to set up partitions manually so choose Something else and click Continue.

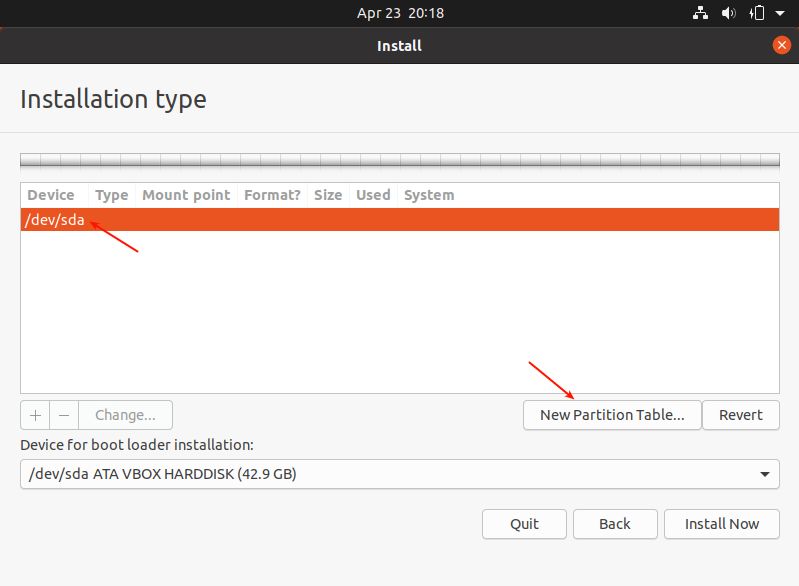
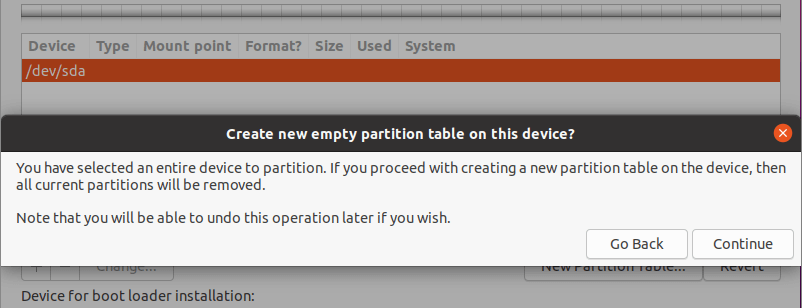
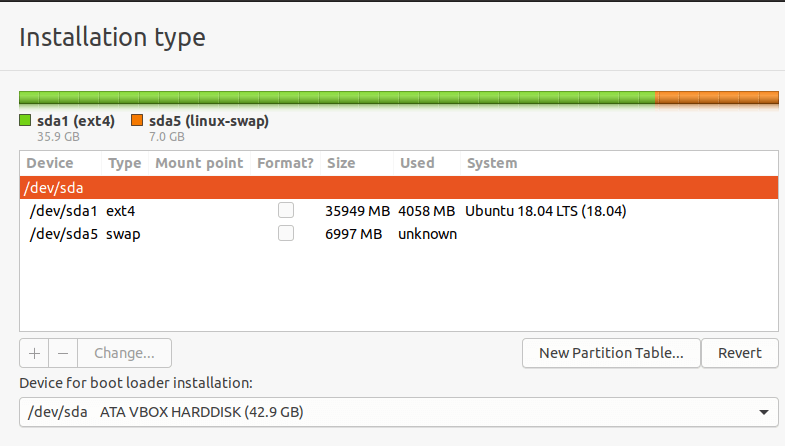
8. Now you need to partition your hard drive for the installation. Simply select/click on the unpartitioned storage device from the list of available storage devices. Then click New Partition Table.
Note that the installer will auto-select the device on which the boot-loader will be installed as shown in the following screenshot.
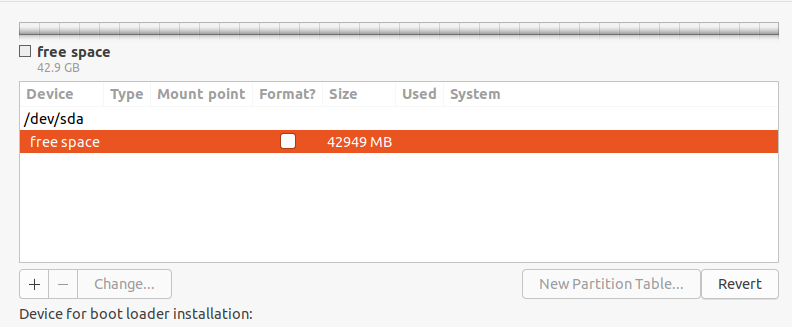
10. Now you should be able to see the free space created equivalent to the capacity of the hard drive. Double click on the free space to create a partition as described next.
11. To create a root(/) partition (where the base system files will be installed), enter the size of the new partition out of the total free space. Then set the file system type to EXT4 and the mount point to / from the drop-down list.

12. Now the new partition should appear in the list of partition as shown in the next screenshot.

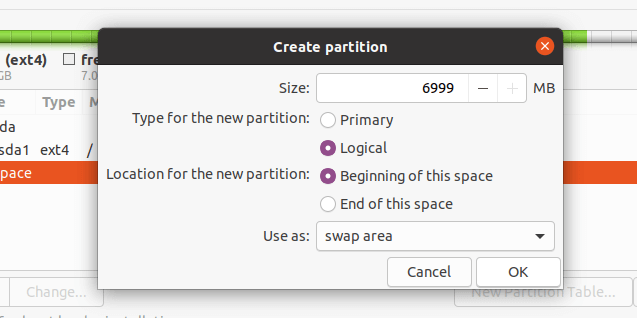
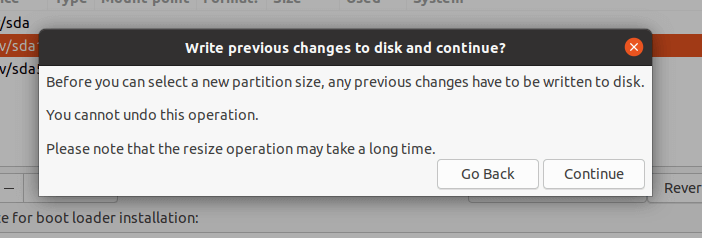
13. Next, you need to create a swap partition/area. Double click on the current free space to create a new partition to be used as swap area. Then enter the swap partition size and set swap area as shown in the following screenshot.
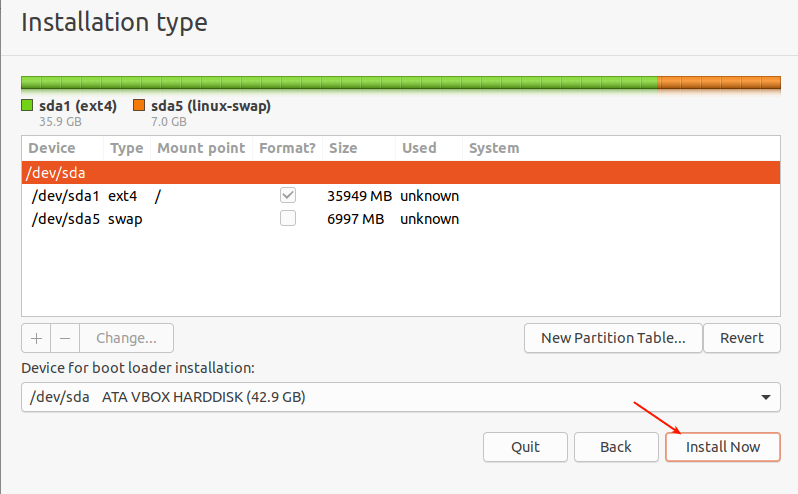
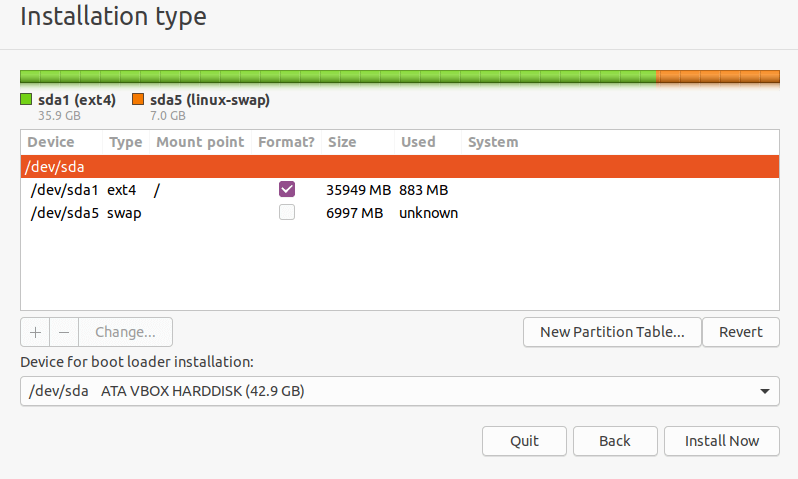
14. At this point, you should see two partitions created, the root partition and the swap partition. Next, click Install Now.
Scenario 2: Using an Already Partitioned Harddrive (with an existing OS installed)
16. For this scenario, you will use the existing partitions, choose Something else and click Continue.
root(/).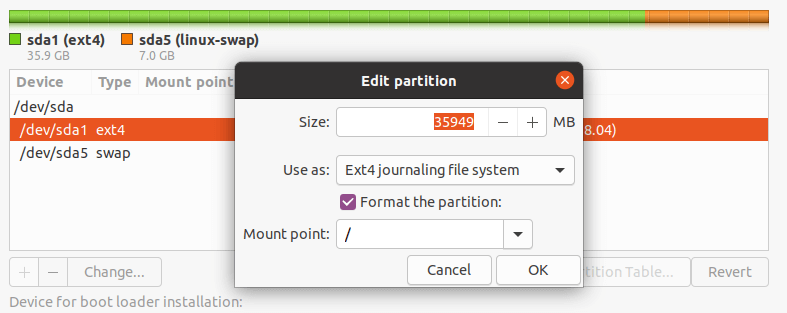
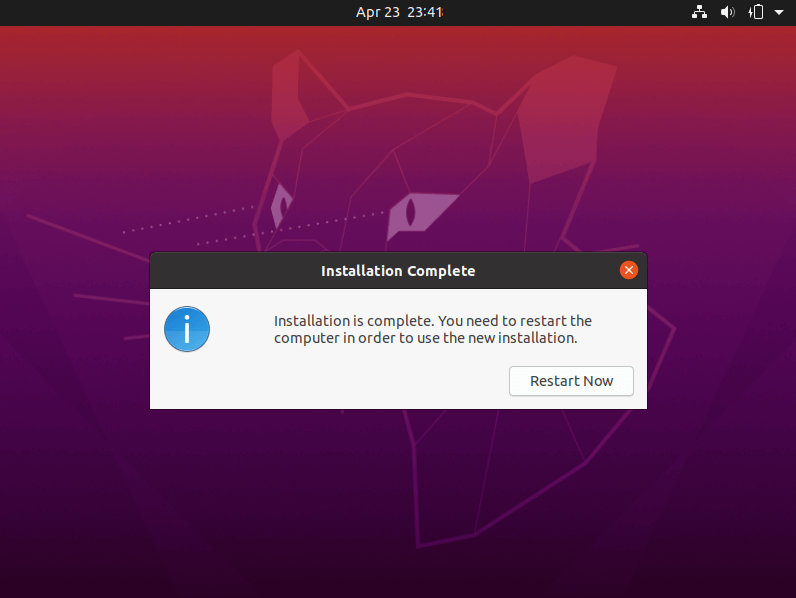
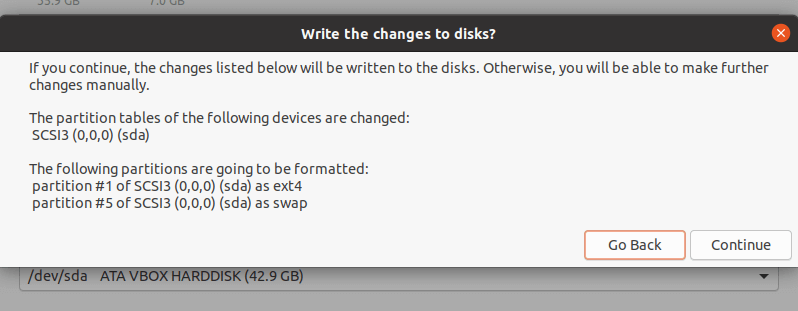
24. Once the system installation is complete, reboot your system by clicking Restart Now. Remember to remove the installation media, otherwise, the system will still boot from it.